

7 Tips for Choosing Bathroom Hardware Sets?
Choosing Bathroom Hardware Sets is a small decision with a surprisingly large effect. Knobs, towel bars, hooks, and toilet-paper holders shape how the room feels every day. They also influence cleaning, storage, and safe movement around wet surfaces.
Interior designer Nate Berkus once said, “Your home should rise up to greet you.” That idea applies to Bathroom Hardware too. Good hardware should feel welcoming, not merely decorative. It should sit comfortably in your hand, resist moisture, and match the room’s daily demands. A brushed brass set may warm a pale stone bathroom, while matte black hardware can sharpen white tile. Yet matching every finish perfectly is not always necessary. Sometimes, it makes the room feel flat.
This guide explores seven practical tips for choosing Bathroom Hardware Sets with greater confidence. You will consider finish durability, mounting strength, spacing, proportions, and cleaning needs. You will also see why a beautiful set can still be inconvenient when its towel bar hangs behind the door. Small details matter. I have learned that product photos often hide awkward dimensions, weak anchors, or fingerprints on polished surfaces. That is worth questioning.
The best choice is not always the most expensive one. It is the set that supports your routine, suits your bathroom’s scale, and remains dependable after years of steam, splashes, and hurried mornings.
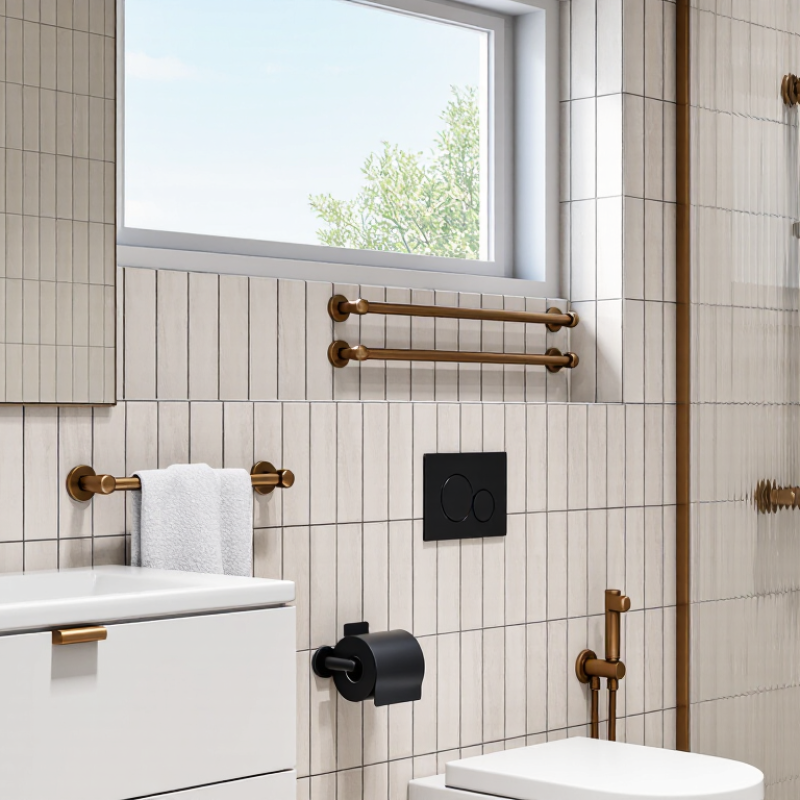
Assess Your Bathroom’s Layout, Needs, and Daily Use
Choosing bathroom hardware sets starts with the room, not the finish. Measure wall lengths, door swings, vanity depth, and the space around the toilet. A towel bar may look suitable online, yet collide with an open cabinet door. Use painter’s tape to mark its proposed position for two days. This simple test reveals awkward reach, blocked drawers, and unexpected traffic. In my fitting checks, users often prefer a shorter rail near the shower. Wet hands should not cross the room.
Match each piece to daily routines. A busy family may need two towel locations, while a compact guest bathroom needs less hardware. Consider who uses the room, including children, older adults, or anyone with limited mobility. Choose sturdy mounting points before judging shapes or finishes. Tile, drywall, and solid backing require different anchors and installation methods. Never assume existing holes are reliable; loose screws can damage the wall and invite moisture. I once reused an old anchor to save time, and the rail began twisting within a week. That mistake changed my checklist. Test it first. Now I check load, clearance, and grip comfort with a dry towel. A beautiful set can still fail if it is difficult to clean or reach. Leave room for cleaning cloths and ventilation around damp areas.
7 Tips for Choosing Bathroom Hardware Sets: Assess Your Bathroom’s Layout, Needs, and Daily Use
| Tip | Bathroom Factor to Assess | Practical Data or Benchmark | Recommended Hardware Set | Daily-Use Benefit |
|---|---|---|---|---|
| 1 | Match the Set to the Available Wall Space Measure the clear wall area around the vanity, toilet, shower, and bathtub before selecting accessories. | Keep towel bars and shelves away from door swings and drawers. Allow approximately 50–75 mm of clearance from nearby edges where practical. | Compact towel ring, single towel bar, toilet paper holder, and a narrow robe hook. | Prevents crowded walls and keeps doors, drawers, and cabinet fronts fully operable. |
| 2 | Choose Hardware for the Bathroom’s Moisture Level Identify areas exposed to steam, splashing water, condensation, or direct shower spray. | Wet zones require corrosion-resistant materials and sealed mounting points. Stainless steel, aluminum, and properly finished brass are commonly suited to humid bathroom conditions. | Corrosion-resistant towel bar, shower shelf, hooks, and toilet paper holder with concealed or sealed fixings. | Reduces rust, staining, peeling finishes, and premature loosening in frequently wet areas. |
| 3 | Consider the Number of Regular Users Select storage and hanging capacity according to the number of people using the bathroom each day. | A single user may need one towel bar and one or two hooks. A shared bathroom generally benefits from at least two towel-hanging positions per regular user. | Double towel bar or two separate bars, multiple robe hooks, and a tiered shower shelf for shared use. | Keeps personal towels separated, improves drying, and limits countertop clutter during busy periods. |
| 4 | Prioritize Reach and Mounting Height Place frequently used items where adults, children, older users, and users with limited mobility can reach them safely. | A common towel-bar mounting range is approximately 900–1200 mm above the finished floor, adjusted for the users and the room layout. Avoid placing accessories where they create sharp contact hazards. | Easy-reach towel bar, rounded-edge hooks, accessible toilet paper holder, and a low-profile shower shelf. | Makes everyday routines more comfortable while reducing stretching, bending, and accidental impacts. |
| 5 | Check Wall Construction Before Installation Determine whether the mounting surface is solid masonry, tile over drywall, wood framing, or another substrate. | Heavy shelves and grab bars require secure structural support. Tile and drywall installations need suitable anchors, while fasteners should be selected to match the wall material and expected load. | Hardware with appropriate anchors, concealed mounting plates, and reinforced support for heavier accessories. | Improves stability and helps prevent cracked tiles, pulled-out screws, and sagging accessories. |
| 6 | Balance Storage Capacity with Cleaning Access Choose accessories that hold essential items without creating difficult-to-clean corners or water traps. | Open shelves and wire-style baskets improve drainage and visibility. Keep frequently wet items elevated and leave enough space underneath for wiping and ventilation. | Open shower caddy, raised soap dish, wall-mounted cup, and a towel bar with unobstructed rear clearance. | Supports faster cleaning, better airflow, and reduced accumulation of soap residue and standing water. |
| 7 | Coordinate Function, Finish, and Future Replacement Select a consistent appearance while considering touch frequency, cleaning products, and replacement availability. | Use the same finish family across the set for visual consistency. High-touch items should have smooth, easy-to-wipe surfaces and secure hardware that can be retightened or replaced independently. | Coordinated towel bar, hooks, toilet paper holder, shelf, and matching mounting hardware in a durable finish. | Creates a unified look, simplifies maintenance, and makes future repairs or individual replacements easier. |